Making a clay bowl
Aperçu des sections
-
-
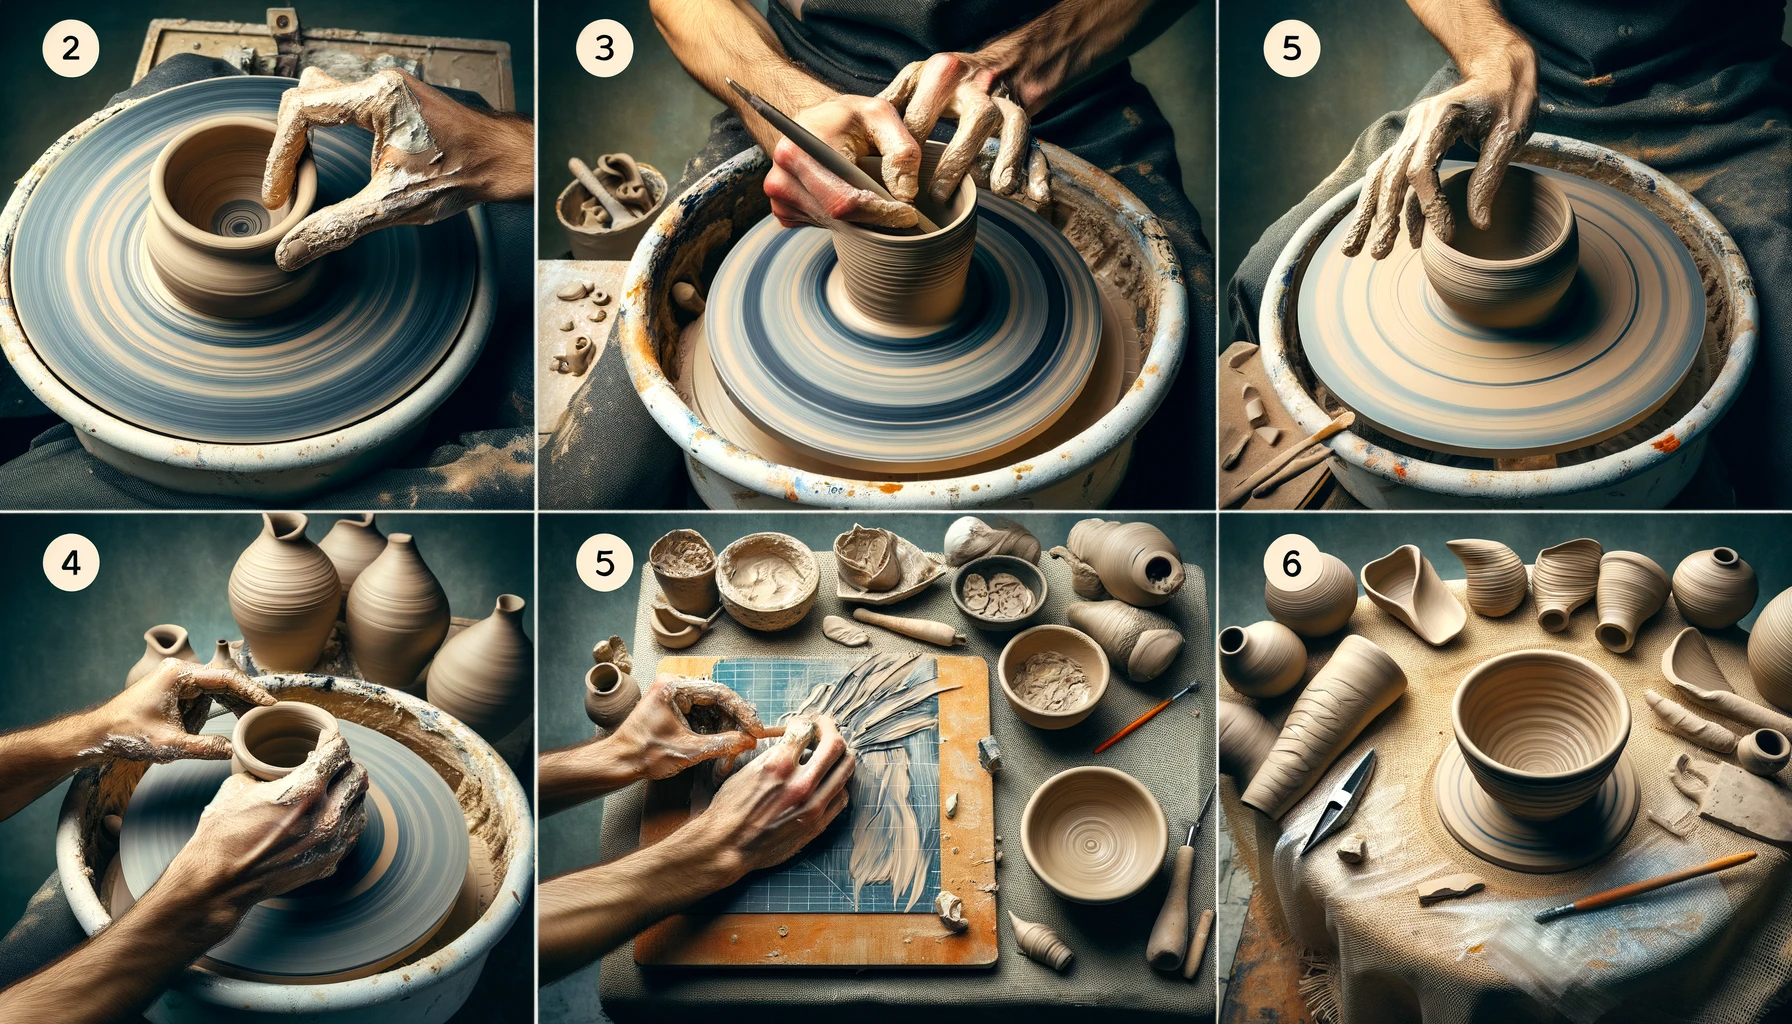
After getting the shape of the rim and inside of your pot just right, you’ll want to clean up the bottom of your bat with a wooden knife or rib. Then, I double-check that the rim is compressed, and I’ll remove the whole bat from the wheel. If I have time, I’ll let the pot dry for an hour or two, then cover it with plastic.
- Use a rib tool or a sponge to smooth out any bumps or irregularities on the surface of your piece. Make any final adjustments to the shape of your pottery. This might involve refining curves, straightening sides, or altering the rim.
- If you wish, add textures or patterns using tools like stamps, carving tools, or even everyday objects that can make interesting imprints. With the wheel spinning slowly, use a trimming tool to create a foot on the bottom of your piece. This not only adds to the aesthetics but also ensures stability.
- Allow your piece to become leather-hard, which means it is still slightly damp but firm enough to hold its shape. This can take several hours to a day, depending on the thickness of the clay and the humidity. Carefully slice under the piece with a wire cutter to separate it from the wheel. Lift it gently and place it on a board to continue drying.
- Use a sponge and water to clean the wheel head, making sure to remove all clay residues. Clean and put away all tools. Wipe down surfaces and ensure the area is ready for the next use.
- If necessary, cover the piece with a plastic sheet to slow down the drying process. This helps to prevent cracking and warping. Allow the piece to dry completely. This can take several days and is crucial before the bisque firing process.
Be patient patience and attention to detail are key during these finishing steps. The drying process is as important as the shaping process, as improper drying can lead to cracks or warping.
-