Making a clay bowl
Topic outline
-
-
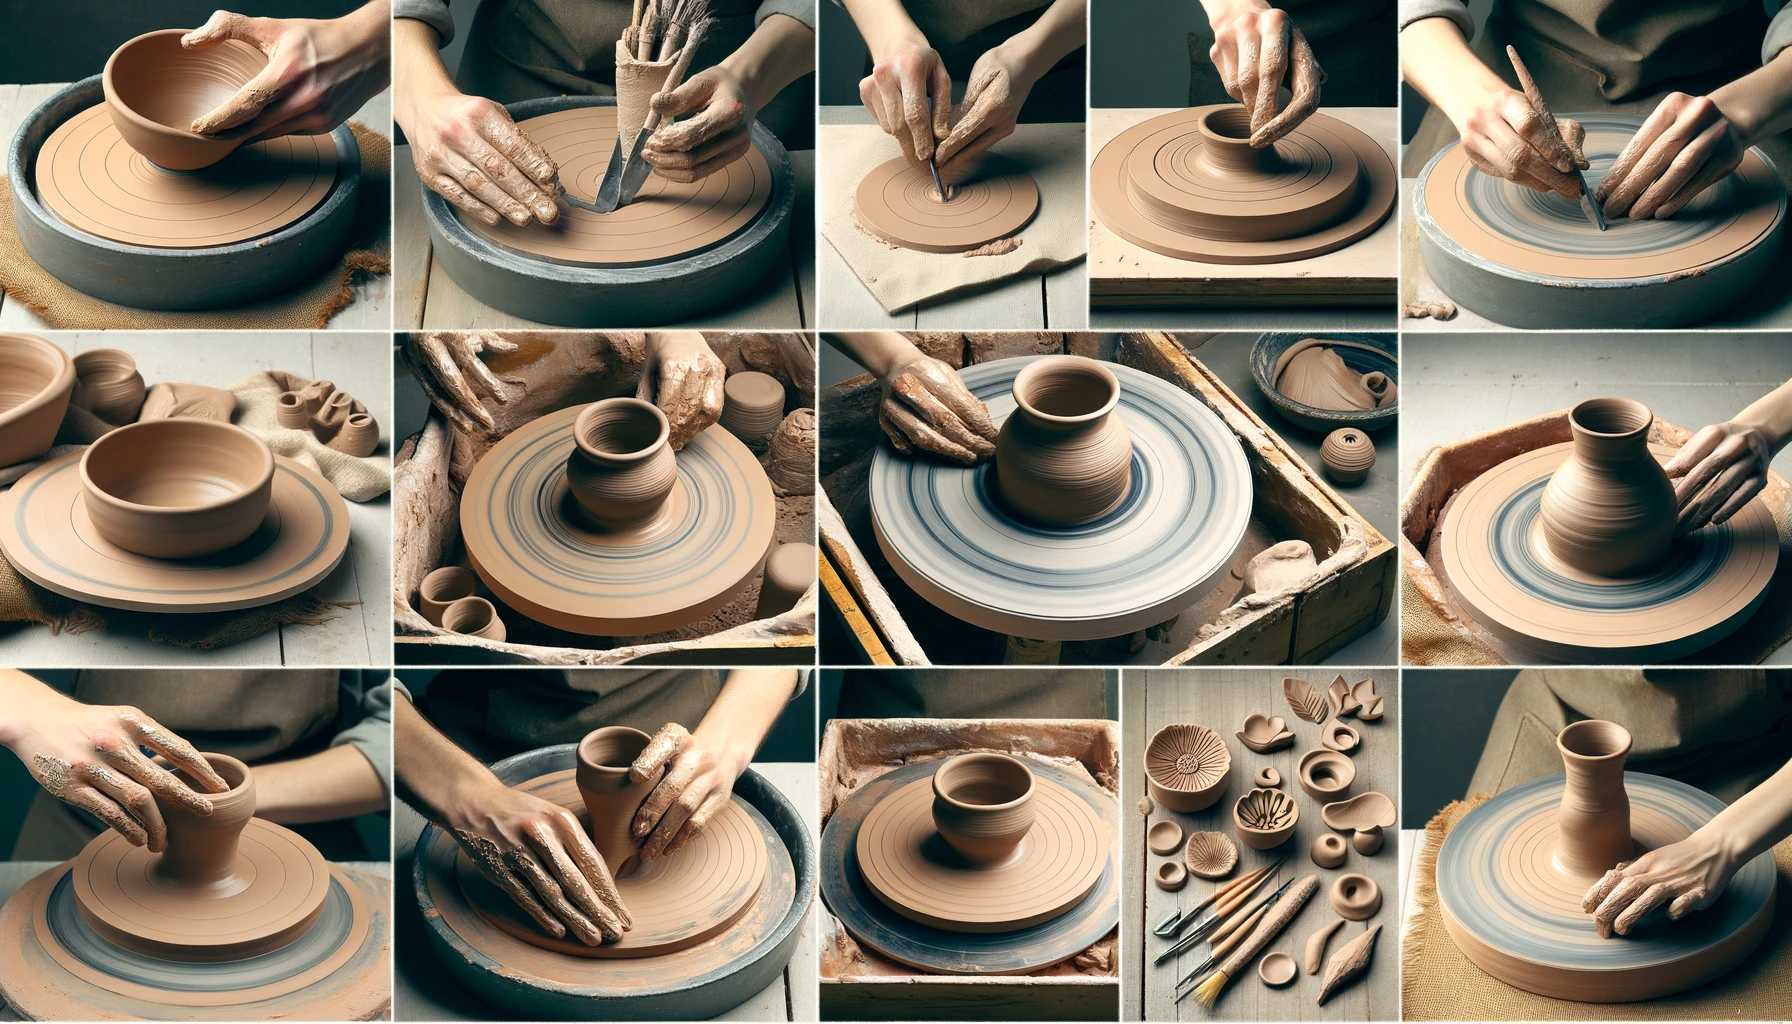
When your bowl is leather-hard, it’s ready to trim. I like to trim on the dry side of leather hard as you will get more crisp lines, and it’s easier to remove small amounts of clay and let the high speed of the wheel and many rotations do the work for you. Press gently throughout the trimming process to gauge the thickness of your wall. If there is any “flex,” you have trimmed enough in that area. Then, create a line that will be the inside of the foot. After that is set, I will start in the bottom centre of the pot and do several passes from the centre to the inside edge of the foot, removing a small amount of clay each time. While throwing, stop and press gently on the clay. If the wall has any “flex” or “give,” it is about 2-3 cm thick and where it needs to be. Doing this kind of testing can get you locked in on trimming your pot to an even thickness. After trimming, run a damp sponge over the pot to remove any trimming marks and clean things up. You can also use a soft, flexible rib for this process. At this stage, you could also choose to carve or decorate your bowl with a slip. On this design, the rim is a great area for that, but you could decorate any part of this form. After trimming, put the clay body on a board upside down and loosely cover it with plastic until they are bone dry. Then, it is ready to be bisque-fired.
- Ensure the piece is leather-hard, which means it's dry enough to hold its shape but still damp enough to be carved easily. Center the piece upside down on the wheel. Use small pieces of clay to secure it in place, ensuring it doesn't wobble.
- Select a sharp trimming tool for smooth, precise cuts.
- Gently press the tool into the clay at the desired width of the foot. With the wheel spinning, carve a groove to define the outer foot ring. Maintain steady pressure and speed. Decide the inner boundary of the foot and carve another groove.
- If the walls of your piece are too thick, gently trim them down. Work from the bottom up, keeping the tool steady.
- After trimming, use a metal or rubber rib to smooth the trimmed surfaces.
- If you wish, add decorative lines or textures to the foot or the base of the piece.
- Remove any excess clay from the foot and the bottom of the piece.
- Carefully cut away the small pieces of clay that were holding the piece in place. Gently lift the piece off the wheel and place it on a board to continue drying.
- Allow the piece to dry completely before bisque firing. This may take several days, depending on the thickness and the environment.
Trimming requires a delicate touch and a good eye for symmetry and proportion. You are encouraged to trim conservatively at first, as you can always remove more clay but can't add it back once it's been trimmed away.
-